
Table of Contents
Mac Mail (OS X El Capitan)
Updated Jan 11th, 2023 at 10:58 GMT
How to set-up email in OS X El Capitan#
This guide takes you step-by-step through the process of setting up a new email account in OS X El Capitan
*Note: This guide defaults to IMAP and SSL
*Note Replace example@example.co.uk with your domain name
Step 1. Launch Mac Mail
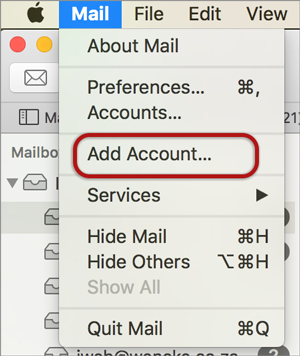
Step 2. On the top left side next to the Apple logo click on "Mail" and then "Add Account"
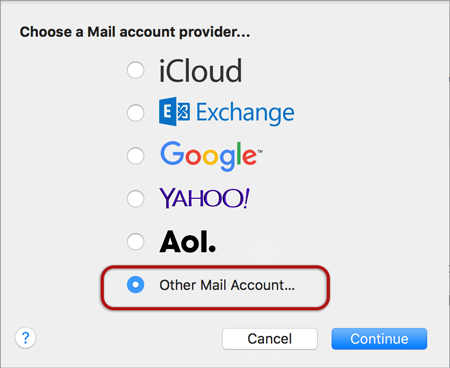
Step 3. After that select the option at the bottom "Other Mail Account"
Step 4. Fill in the required infromation in the field.
- Name: This will be then name that will appear in the "From Field"
- Email Address
- Password
*If you've forgotten your password you can reset it in your Control Panel.
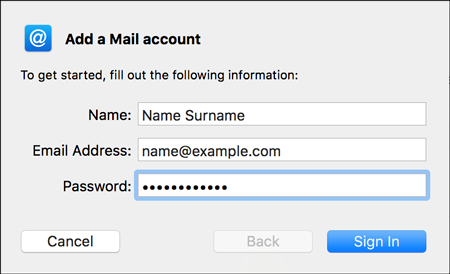
Step 5. Click on "Sign-In"
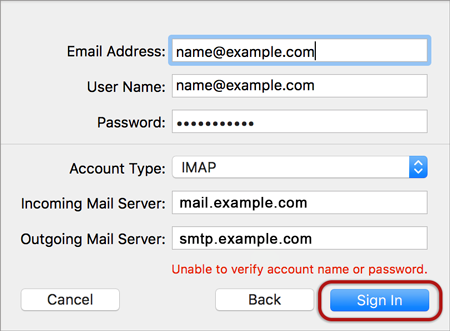
Step 6. Server Settings
You will need to fill in your server information at this point which you should have either from our Support Agents or visibale on your hosting platform.
- Username: Your full Email address.
- Account Type: IMAP.
- Incoming/Ougoin Mail Server: mail3.gridhost.co.uk or your Cpanel Hostname.
*Ignore the "Unable to verify account name or password" warning message as it is invalid.
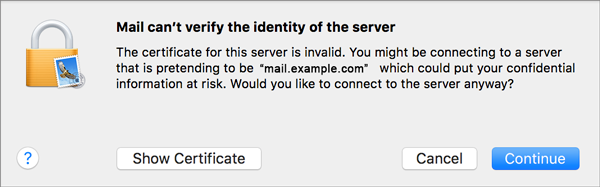
Step 7. You will be prompted with two "Server Identity" dialogs, please simply click on "Continue" as these can be ignored.
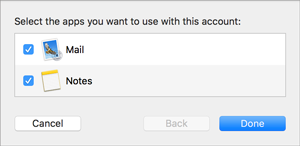
Step 8. Select Any Apps you would like to use and click on "Done"
Futher Settings#
There mgith a possability that you are unable to send/recieve messages due to missing Ports in your overall congiruation. This informatio can be added now that the email is present onto "Mac Mail"
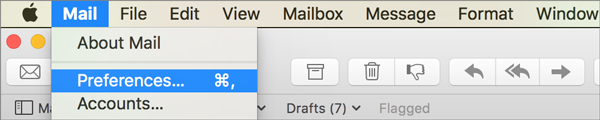
Step 9. On the top left of Mac Mail next to the Apple Logo click on "Mail" then click on "Preferences"
Step 10. Go to the "Accounts" tab and then click on the right on "Account Information"
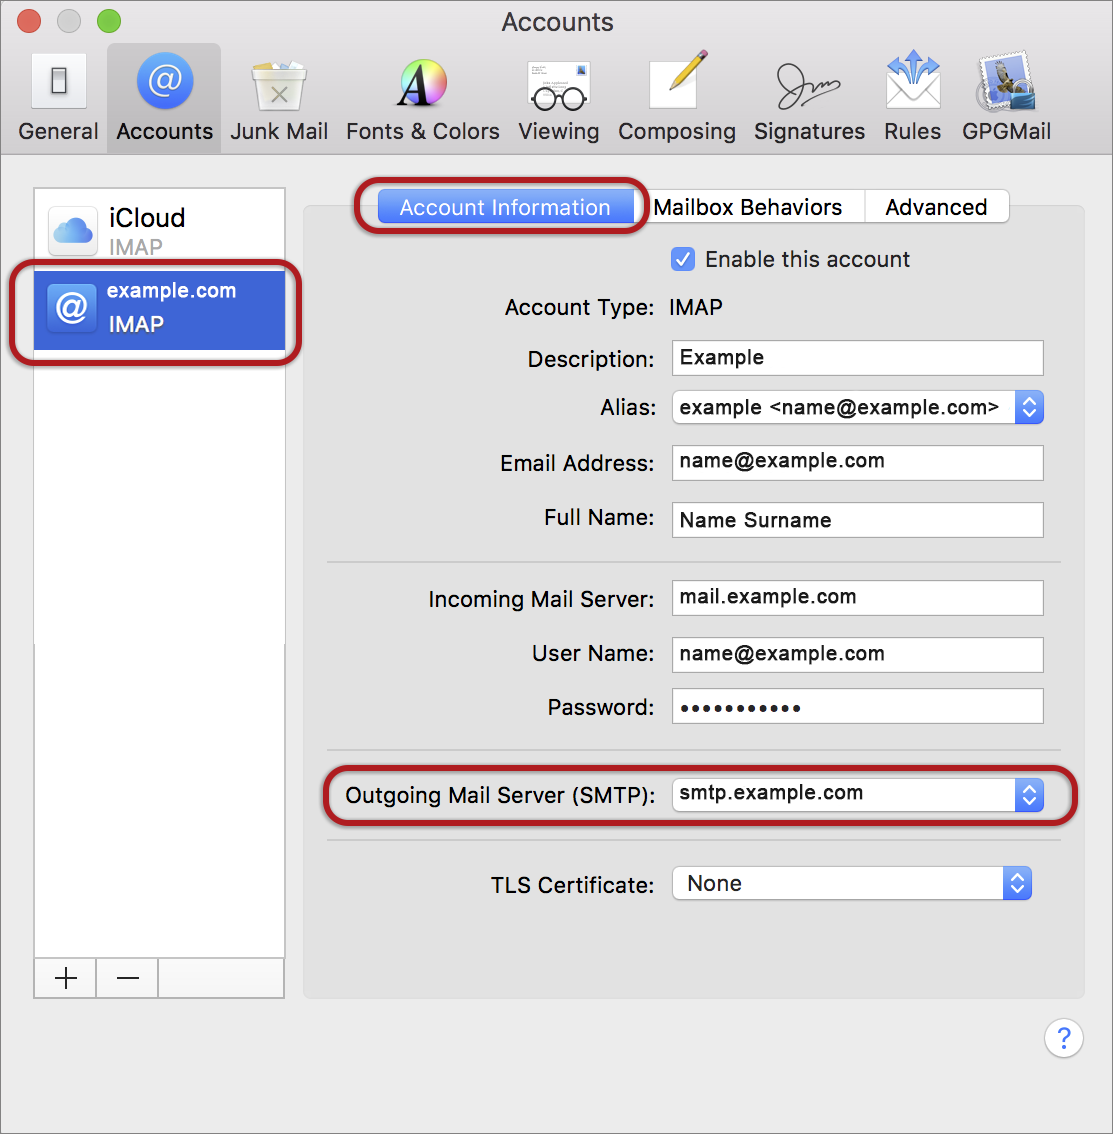
Step 11. Once there navigate to "Outgoing Mail Server (SMTP)" drop down menu and click on "Edit SMTP Server List"
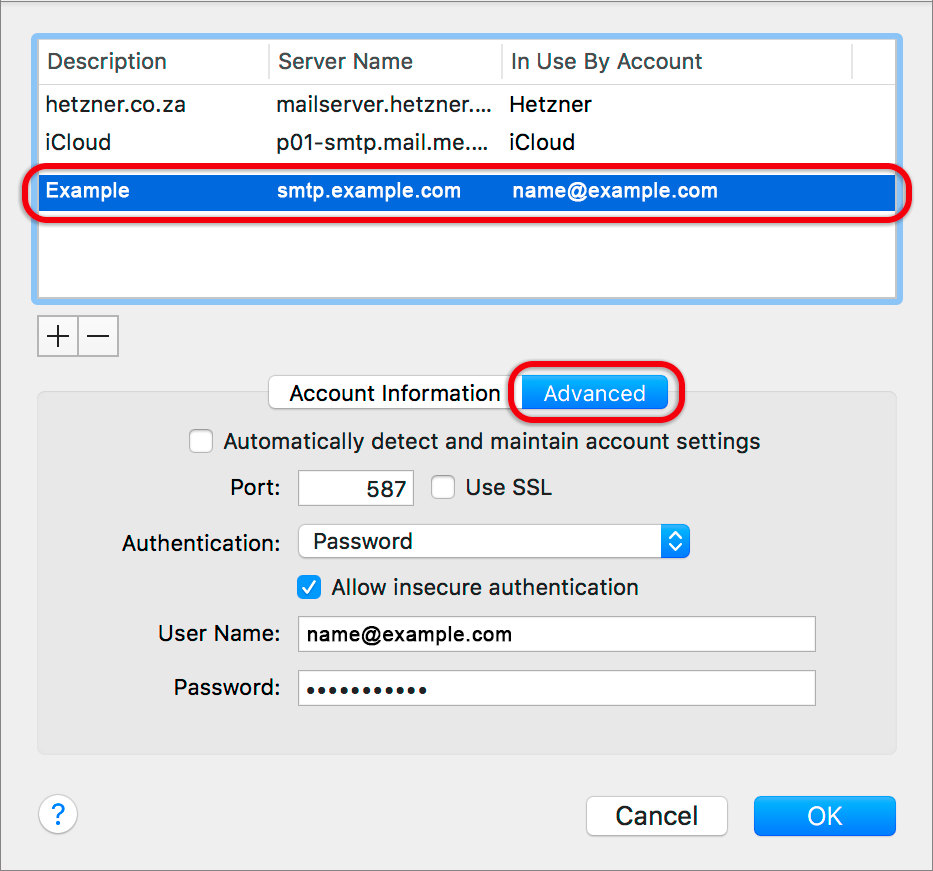
Step 12. Select the Email Account that you have added and click on it under the listed SMTP servers then click on "Advanced" and fill in the required information.
- Port 465 or 587
- Use SSL is ON
- Authentication is Password
- Username Full Email Address
- Password Password for the Email Address
*If you've forgotten your password you can reset it in your Control Panel.
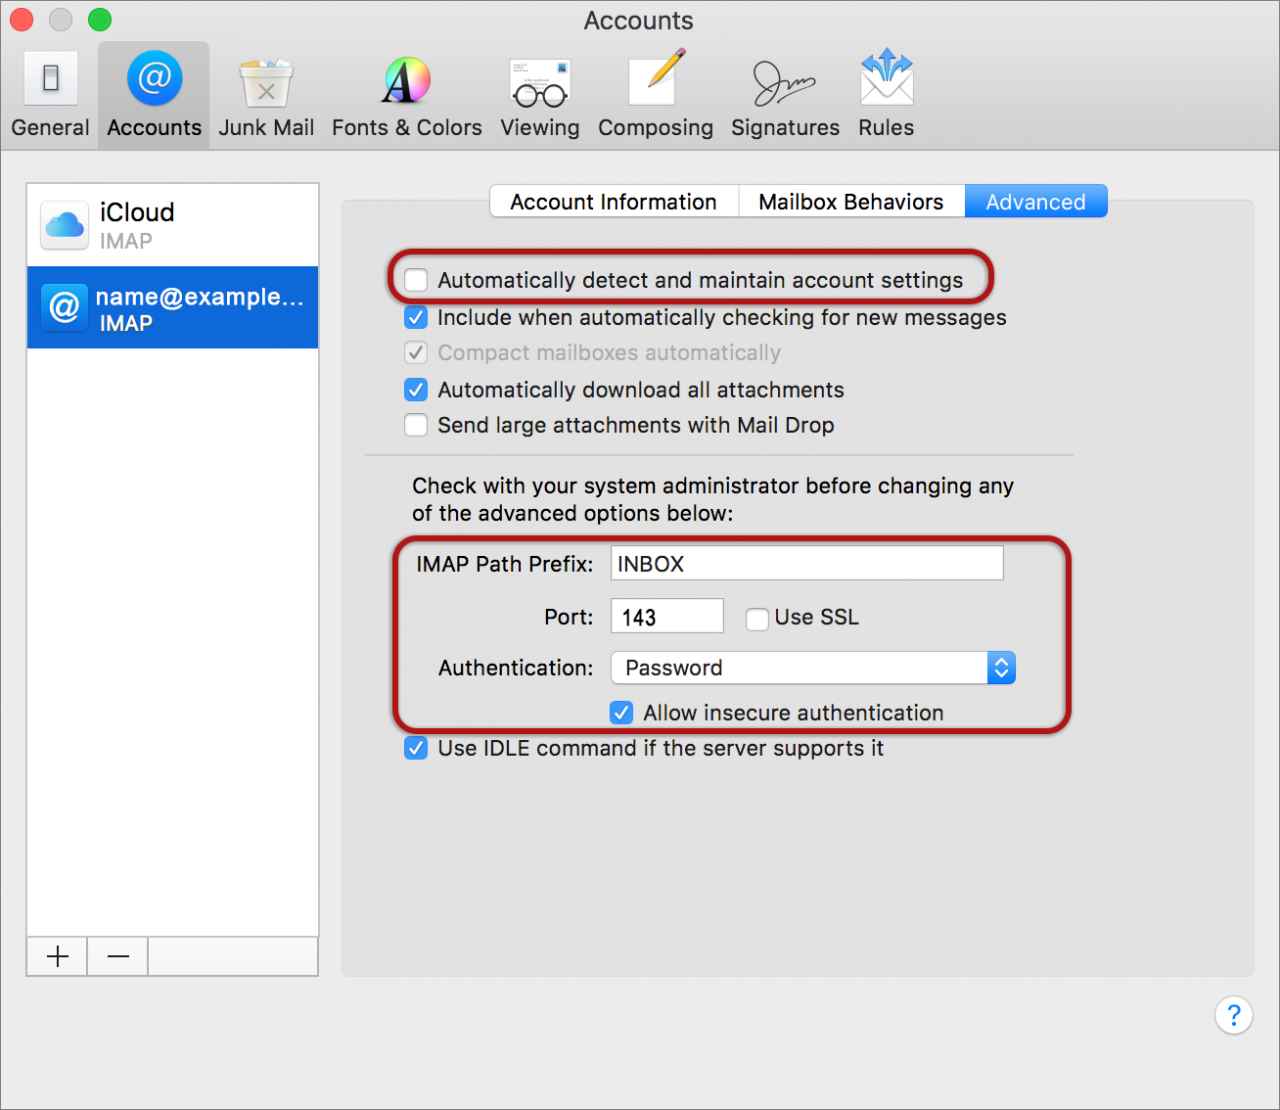
Step 13. Go back to the "Account Information" screen and then navigate to "Advanced" on the right.
- Uncheck the option "Automatically detect and maintain account settings"
- IMAP Path Prefix should be "INBOX"
- Port 993 IMAP (995 POP3)
- Use SSL should be ON
- Authentication is Password
Step 14. Close and Save Settings when prompted and you are done!
Step 15. If you are experiencing any issues with setting up your email address you can always contact us via our Live Chat or open a support ticket. Opening hours are 9AM – 5PM Monday to Friday.