
Table of Contents
Installing WordPress on the Cloud
Updated Oct 31st, 2017 at 11:31 GMT
When you have received the login details for your Cloud control panel, you can access it and, if you don't have it already, add your website from the 'Add New Website' button at the top. You would need to choose 'Linux' for the platform, since that is the one that would run Wordpress. Once that is done, to install Wordpress, you would first need to go to 'Manage Websites' and pick the one you wish to add it to. At the very bottom of the control panel, there is an 'Install Applications' option, there you will be able to see the 'Existing Installations' for this website if you have any and add a new one.
Your next step would be to select the 'New Software Installation' button, we have put Wordpress at the very top of the list as it is our most popular application and we wanted to make it as easy as possible to find.
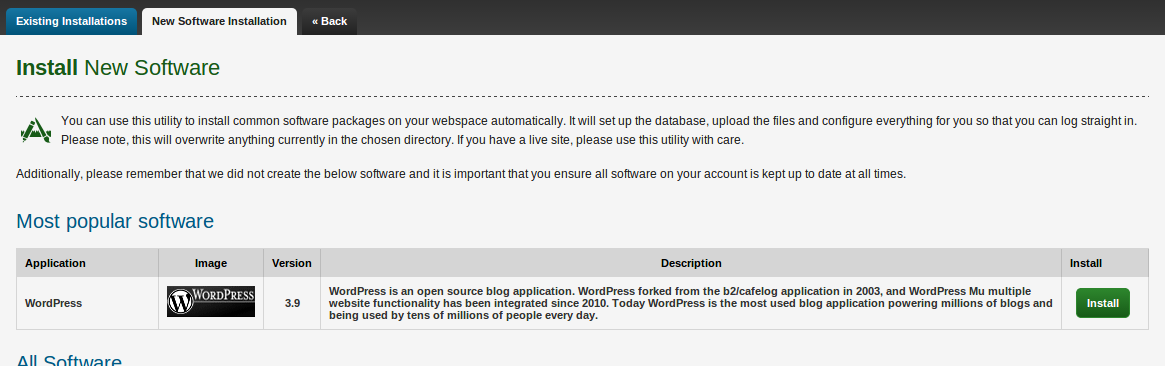
Once you hit the 'Install' button, it will ask you for the path in which you wish to install the Wordpress in. If you want it to run on your main site (domain.com), then do not change the path, simply click 'Install application' and the automatic installer will do the rest. If you want to install WordPress in a folder and have it accessed through it (domain.com/folder), then you would need to add the folder name after the /.

Once the installation is complete, you will be provided with the login information for your new WordPress installation, make sure to take note of this. We also strongly recommend that you change your password as you log in for the first time.