Table of Contents
Manual WordPress installation (cPanel)
Updated May 17th, 2021 at 15:49 BST
Step one: Download WordPress software
Download the WordPress software from http://wordpress.org/download/ to your computer and decompress it to a folder on your computer's hard drive. The file is available to download as a .zip file or .tar.gz file.
Step two: Create a database
Log into the cPanel account and click on the MySQL Databases tool under the Databases menu.

Create the new database as demonstrated below.

Now, create a new database user.

Then add the user to the database.

Finally, grant the database user all privileges.

Make sure that you have noted down the database details as you will need this information in step five.
Step three
Using an FTP client such as Filezilla, connect to your server and upload all the files to the root directory in your hosting account. The root directory for cPanel is public_html.
Step four
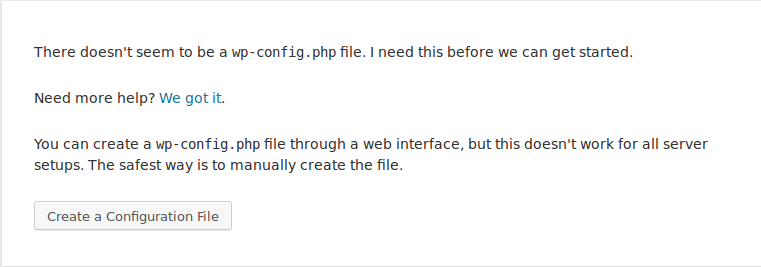
Then type this URL in the address bar of your browser:
http://www.yourdomain.com/wp-admin/install.php
Then Click Create a Configuration File.

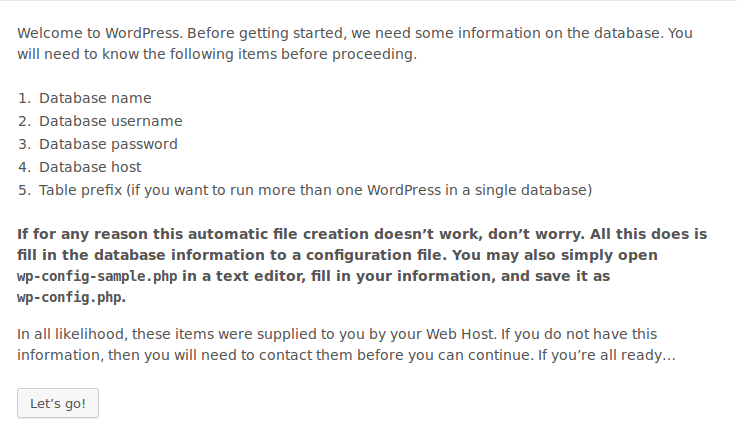
Click Let's go!

Step five
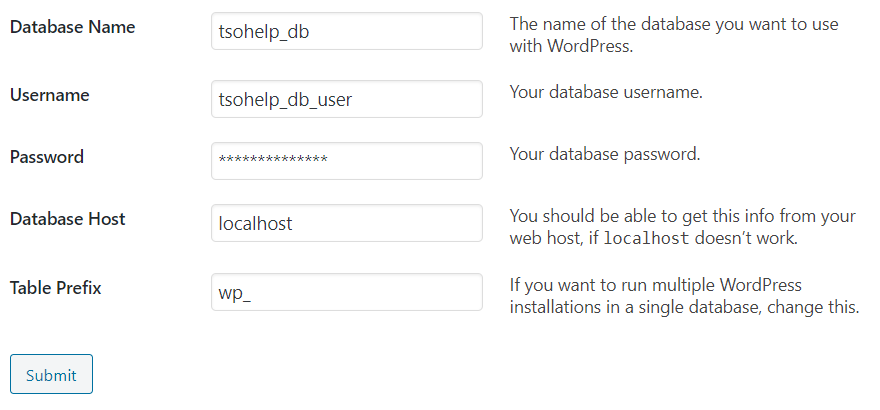
Create a configuration file and enter the the database details that you noted down earlier. This should include the database name, database user, password and host. For cPanel the host should be set to localhost.

Step six
Click the run install button and then the installation should be complete.

