
Table of Contents
How to setup Google Apps in cPanel
Updated Oct 31st, 2017 at 12:52 GMT
How do I set up Google Apps email? #
Step 1: Login & Navigate to Advanced DNS Zone Editor
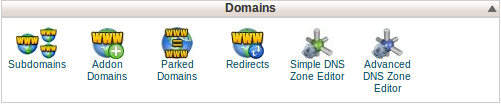
Log into your cPanel account and click on the Advanced DNS Zone Editor icon under the Domains tab.
Step 2: Site Verification (If required)
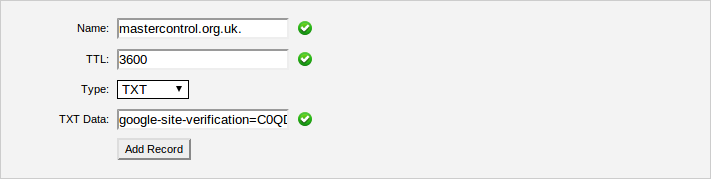
Google may require verification that you own the domain (if not already verified). If so you will need to create a TXT Record in the DNS Zone. To do this you must add your Domain in the Name field, specify a TTL (we recommend 14400) and specify the Type as TXT before entering the TXT Data that Google supply you with. This record is specific to each site with Google and will need to be supplied by them.
Step 3: MX Entry
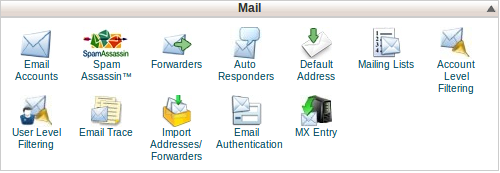
Once verification is complete (if required) you will need to add the MX Records supplied by Google. To do this, click the MX Entry icon under the Mail tab.
Step 4: Add MX Records
Then select the Domain in question if you are hosting more than one on this cPanel account. This can be done by the drop down option next to the domain.
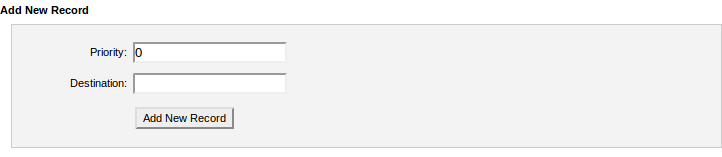
Once selected you will see an option to Add New Record. The Priority Google and Destination (referred to as 'Points to' on Google Setup) are specified by Google although these records are generic so you can copy from the diagram.
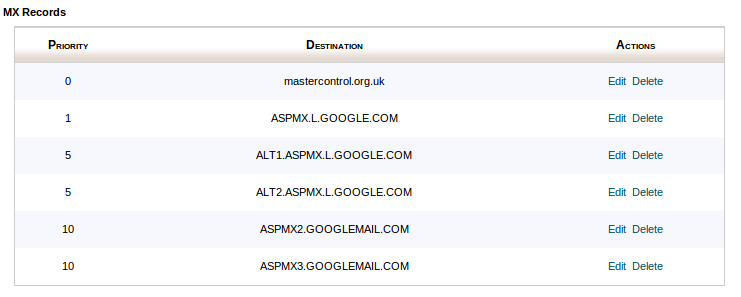
The list of MX Records should now look like this:
Step 5: Remove Old Record
It is essential that the old record is removed otherwise mail will still be directed towards your server. To do this, you simply select Delete next to this. This will leave your MX Records looking like the diagram below: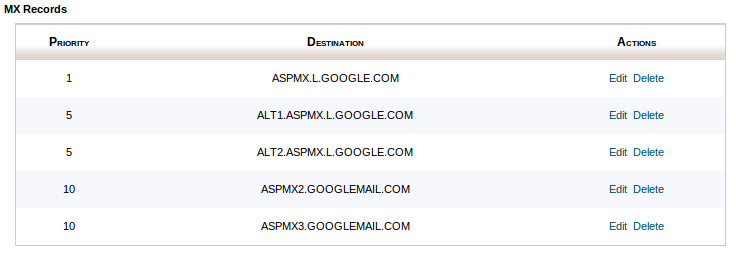
Please allow time for DNS propagation (up to 48 hours) for this to take effect.