Table of Contents
A step by step guide to setting a hosts file
Updated Jun 2nd, 2021 at 12:03 BST
How to preview your website after migration #
Whilst our migrations team test all migrations performed before marking them as completed to ensure that your site works exactly as expected, sometimes it’s reassuring to be able to see how it works yourself before taking it live.
Our recommended way of testing your website before changing the DNS settings is via the use of a modified hosts file. Your computer’s host’s file specifies to your PC what IP address a domain should point to, which bypasses public DNS records, meaning you can see your site on our servers before changing these.
The location and means of editing your hosts file will vary depending on your operating system.
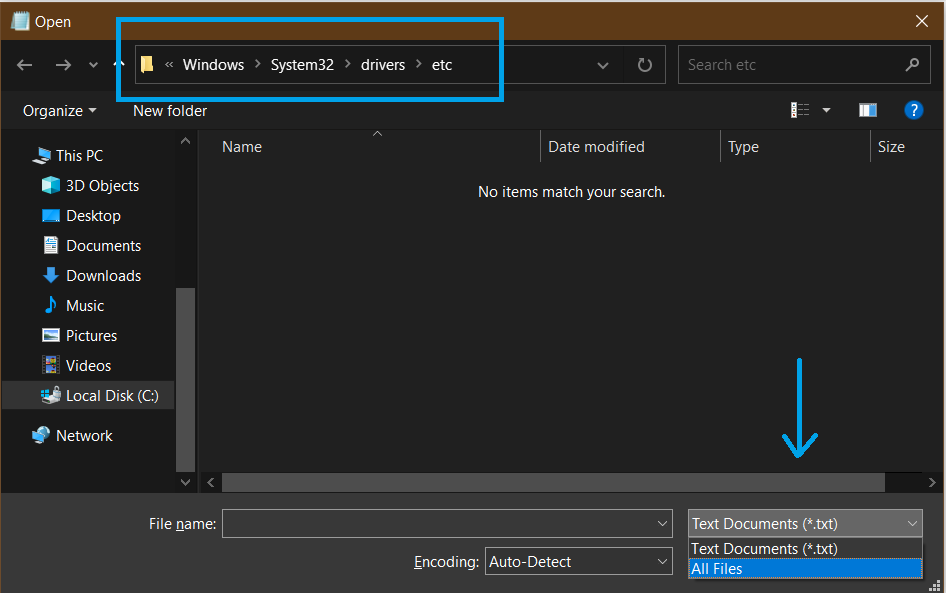
Windows: Open Notepad as Administrator (right click on Notepad in the Start Menu and choose Open as Administrator) and then choose open. Browse to C:/Windows/System32/drivers/etc. You will need to choose All Files (*.*) in the drop down box near the bottom to see the hosts file.
Linux: Open your terminal and run the following command: sudo nano /etc/hosts and enter your password. Hit 'Ctrl + x' to exit then 'y' to save.
Mac OS X: Open your terminal and run the following command: sudo nano /private/etc/hosts and enter your password. Hit 'Ctrl + x' to exit then 'y' to save.
When your hosts file has been opened it will look like this:
You then need to add a new line to the bottom that is laid out like this: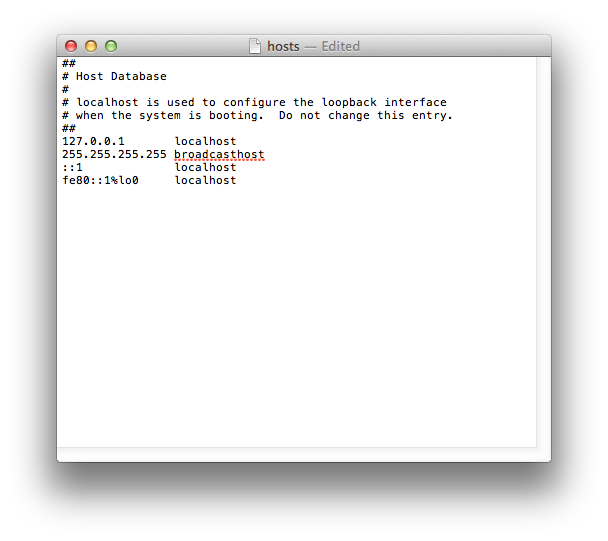
IP Address Domain www.Domain
Your hosts file will then look like this: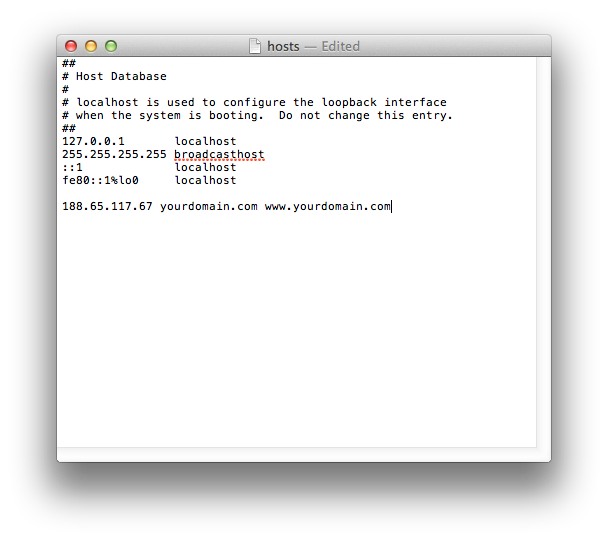
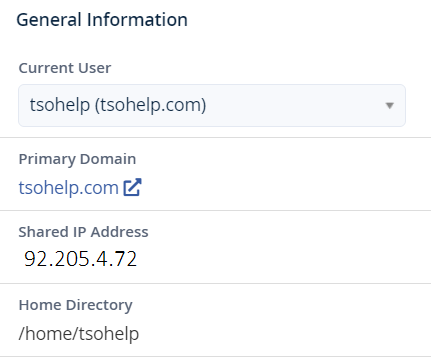
To find your site’s IP address, you would log into your cPanel account, and then on the left hand side you’ll see site stats. One of them will be your Shared IP Address which is what you want to put in.