Table of Contents
How to add srv records to the Cloud and cPanel?
Updated Oct 31st, 2017 at 11:57 GMT
Services such as Office365 often require a SRV record to be created. This guide will instruct you on how to add an SRV record to your DNS in the Cloud.
Note: your nameservers need to be pointing to the Cloud.
1. Login to your cloud control panel. Select the site you would like to add the SRV record for and select theCustom DNS icon.
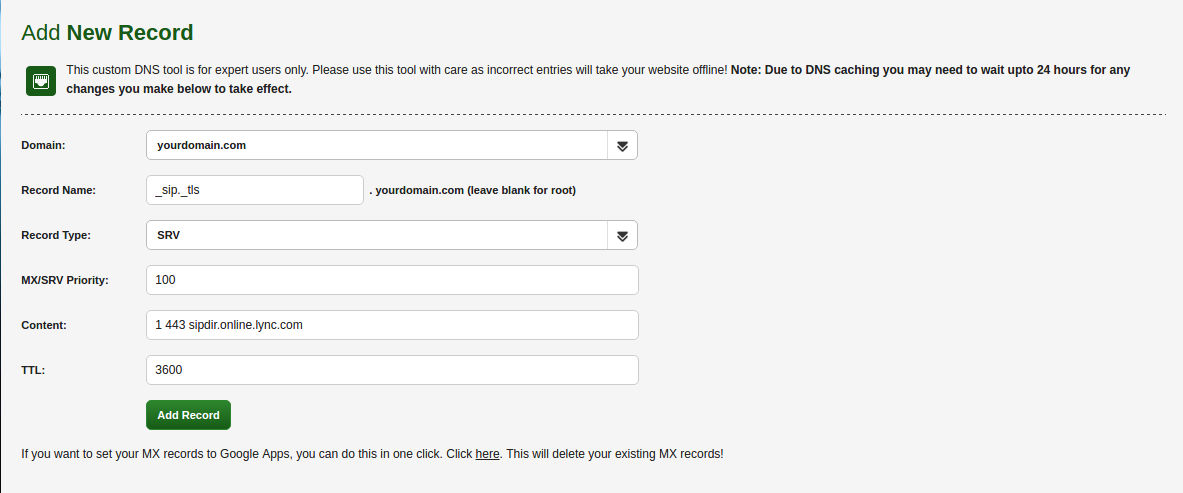
2. Input the following details to create a SRV record:
Service & Protocol: These are entered in the Record Name field, separated by a dot. For example: _sip._tls
Priority: This is entered in the MX/SRV Priority Field. For example: 100
Weight, Port & Target: These are entered in the Content field in that order, separated by spaces. For example: 1 443 sipdir.online.lync.com
When done correctly your Add New Record page should look like this:
For cPanel:
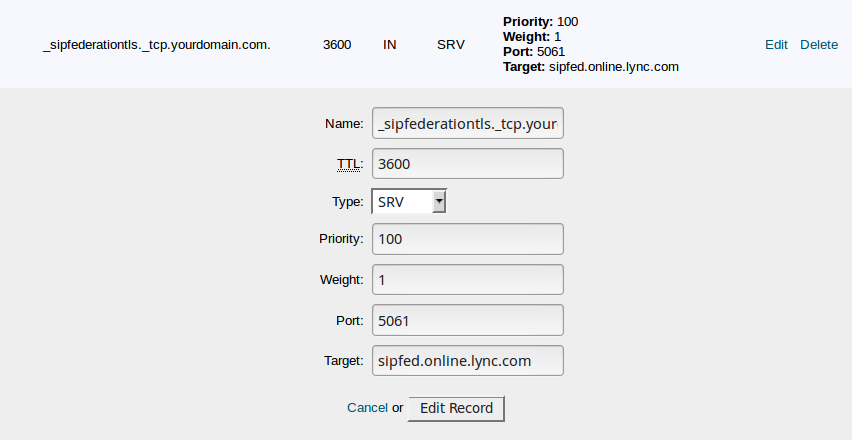
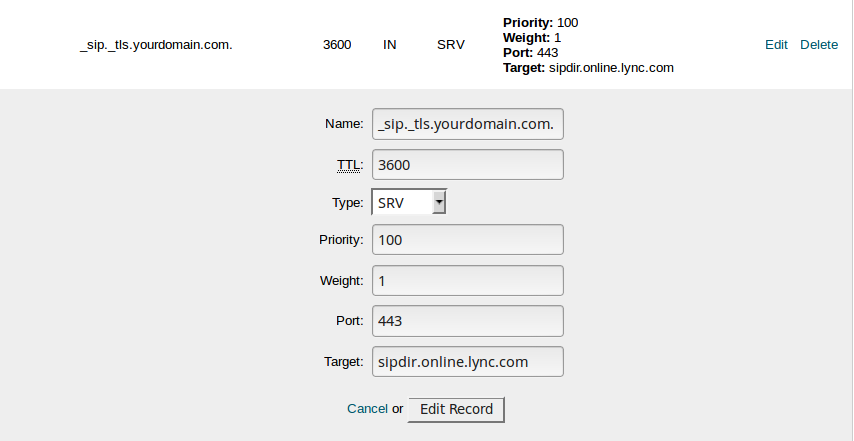
The tricky part is that the form has only one field for the name, fields for service and protocol are not included. That is why in the section name, you need to put all 3 of them in the following format:
_service._protocol.domain (the system will automatically add the domain).