Table of Contents
Account Level Filtering
Updated Oct 31st, 2017 at 12:51 GMT
This feature allows you to create filters to your main account. Filters are basically rules for specific types of messages and actions to be performed for these filters.
To Create Filters:
1. Login to your CPanel Account.
2. From the CPanel Home Page click on Account Level Filtering Icon or the link under the Mail Panel.

The Edit Filters page opens.
3. Click Create a new filter to create filter for your e-mail accounts.

The Edit filter for all mail on your account page opens.
4. Enter the name of the Filter in the text box
![]()
5. Create rules by selecting the conditions from the first and second drop down lists and enter a description in the specified text box.

6. Click the + sign to add another rule. Click the – sign to remove the rule.
7. Select an action for the specified rule from the Actions drop down list.

8. Click on the + sign to add the action for the rule. Click on – sign to remove the action for the rule.
9. Click Activate to set the filters.
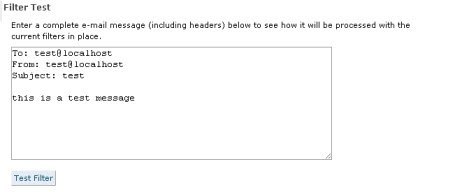
10. Click Go Back to back to Account Level Filtering. The page displays your list of current filters available and the filter test for your e-mail account.

11. To test a filter select the filter and enter the complete e-mail message to test and click on Test filter button.

