Table of Contents
Mail exchange migration
Updated Sep 15th, 2021 at 15:28 BST
Content:
General information: #
What will happen?
We’ll be transferring all the email accounts and all the emails in them to another platform. This is required due to the change of the Data Canter.What will be transferred?
We are expecting everything to be migrated including address books, calendars etc.When will this happen?
The migration will take place on the 20th of September.What should you do?
- If your domain is using any of our nameservers, no DNS changes will be required from your end. We’ll be making those changes on your behalf once the migration is done.- If the active DNS zone of the domain is external, there are a couple of changes that need to be performed on your end:
*You’ll need to updated your MX record to cluster1.exchange.outitgoes.com
*You’ll need to update your SPF record to “v=spf1 mx a ip4:79.170.40.196 include:secureserver.net ~all”
*You’ll need to update the Autodiscover CNAME record to cluster1.exchange.outitgoes.com
You can ask the company where you purchased your domain for help with the changes.
Will any credentials change?
No, your credentials will remain the same. Please make sure you have the correct password prior to the migration. You can check this by trying to enter https://mail.hostedpg.comIf you are not sure what your password is, please contact our support lines, so we can assist you before the migration takes place.
What will the new URL for the webmail be?
Once the migration takes place, you will be able to enter your email accounts from the following link: https://cluster1.exchange.outitgoes.comHow to connect to different email clients?
You can connect to the email clients by using the auto-config option on them. The credentials that should be used are:Username: youremailaddress@yourdomainname.com
Password: your current password
Please find bellow examples with settings for different email clients:
- For Outlook – Exchange
- Open Control Panel
- Search for and open “Mail” or switch to small icons view and open “Mail”/”Email” directly
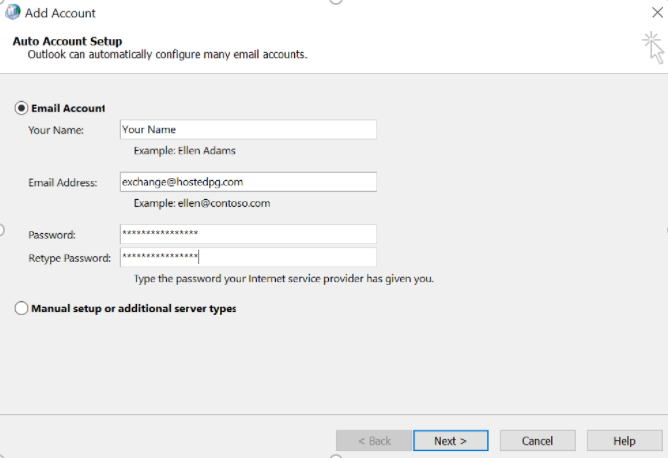
- Create a new Outlook profile by clicking “Add...” and give the profile a name (e.g. your Email address).
- Fill in all fields for the Auto Account Setup and click “Next”, this process might take several minutes
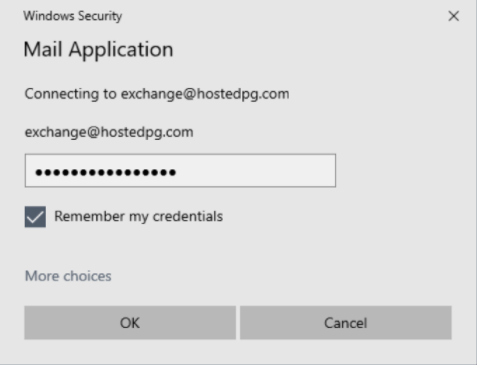
- Outlook will prompt you for your mailbox credentials (sometimes multiple times), check “Remember my credentials” and use your email address and password. If it shows another user/email address already filled in, click on “More choices” > “Use a different account”
- Outlook may show a certificate warning for autodiscover.yourdomain.com, proceed with “Yes”
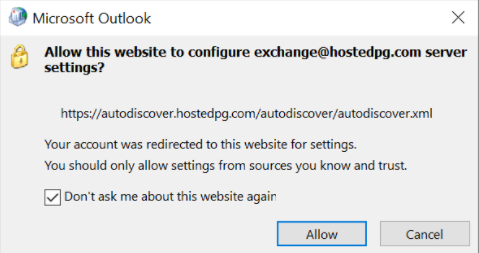
- Outlook may ask you to allow connecting to the new servers for settings. Check “Don’t ask me about this website again” and click “Allow”
- Connection should be set up properly
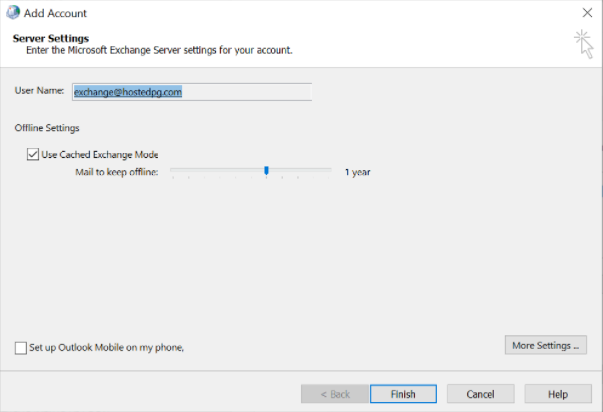
- Optionally you can check “Change account settings” before clicking “Finish” to change the timerange for mails to keep offline with a slider. Keep “Use Cached Exchange Mode” checked for best performance
- Your Exchange account is set up
- For Outlook – IMAP
- Open Control Panel
- Search for and open “Mail” or switch to small icons view and open “Mail”/”Email” directly
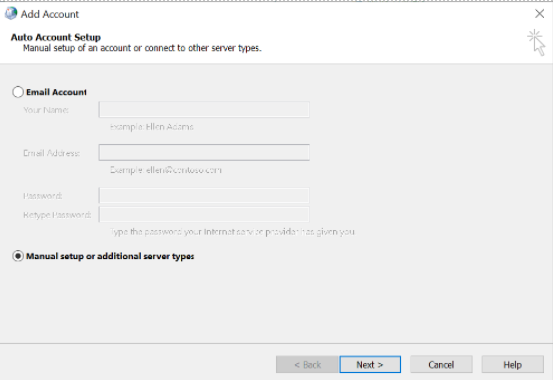
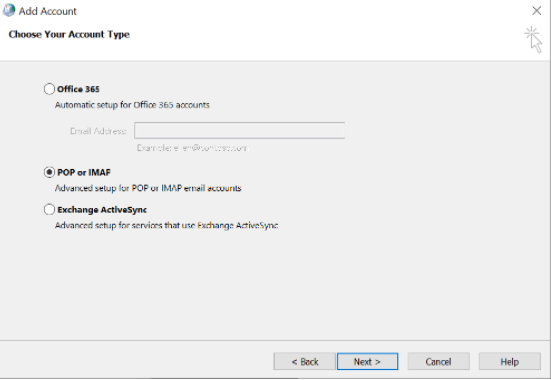
- Choose “Manual setup or additional server types”
- Select “POP or IMAP”
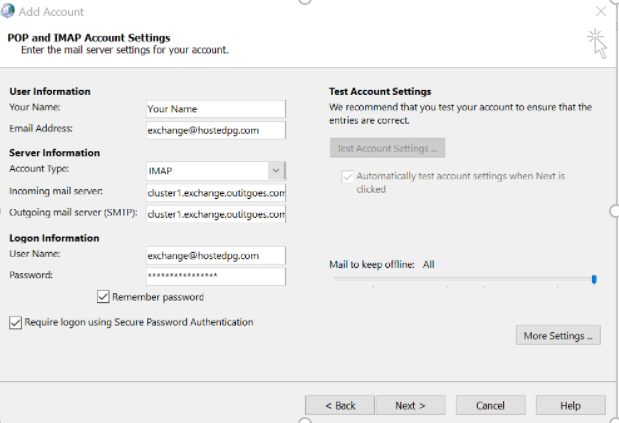
- Account Settings:
- Open “More Settings...”:
- On the “Account Settings” window click “Next”, Outlook will then test the IMAP and SMTP connections
- Your Exchange is set up with IMAP
- For Thunderbrid – IMAP
- Navigate to “Tools” > “Account Settings”
- On the bottom left corner click “Account Actions” > “Add Mail Account”
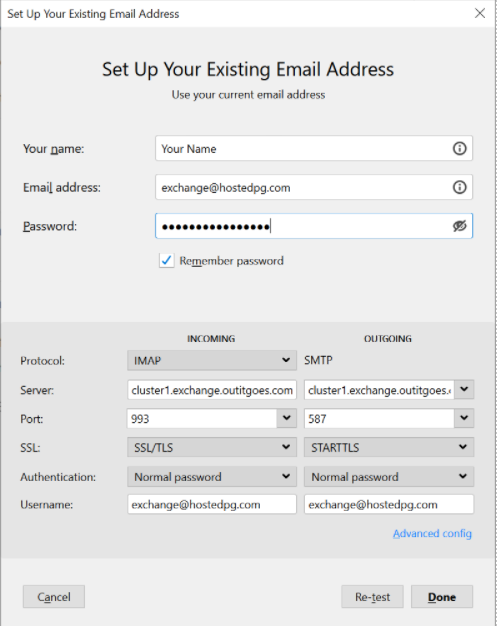
- Fill in all fields and click “Configure manually...”
- Click "Done"
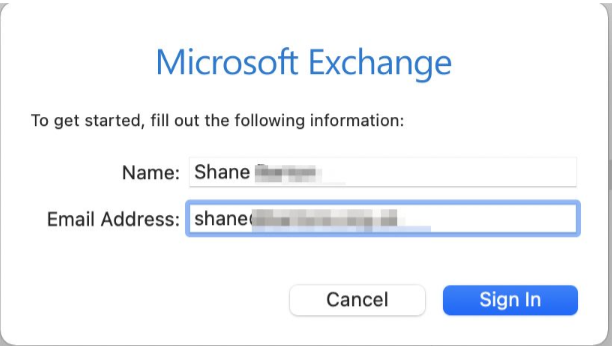
- For MacMail
- Enter your Name and Email account
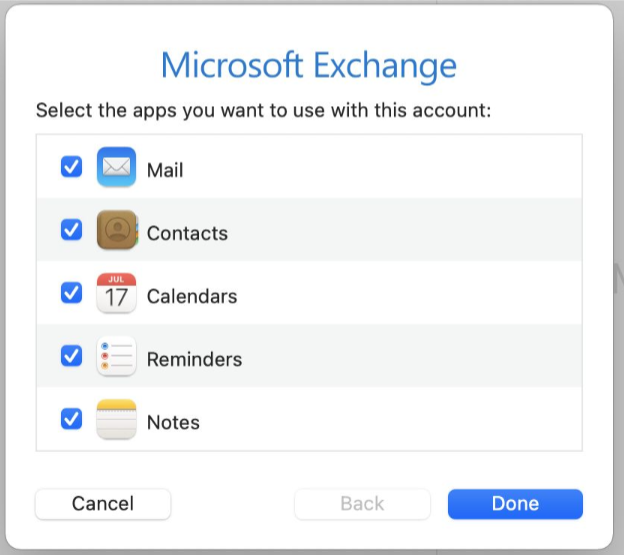
- Select all the desired apps
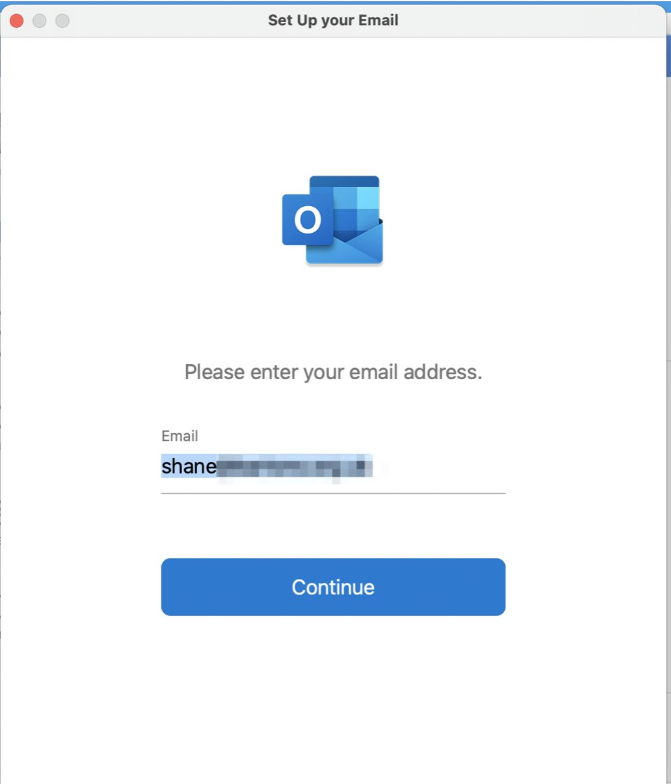
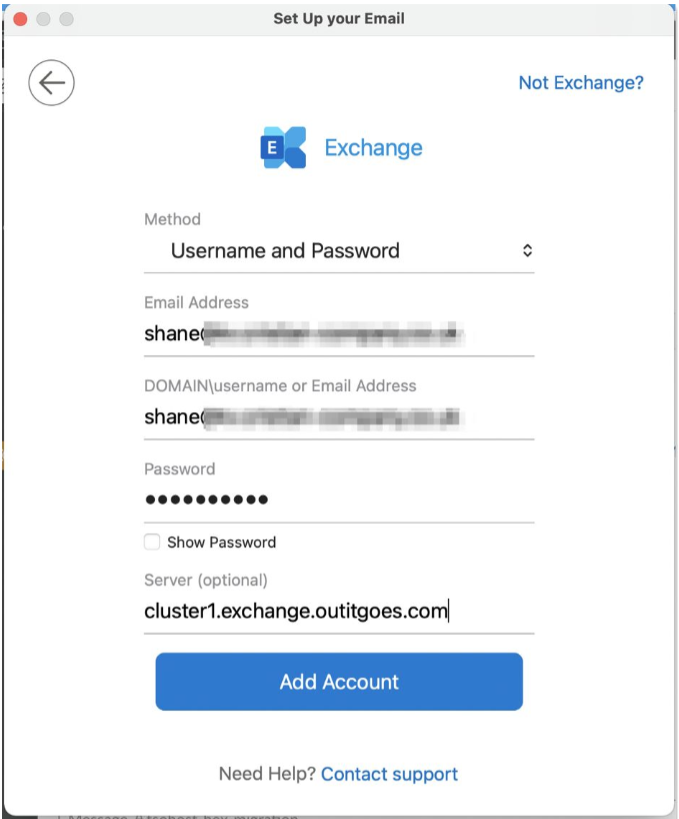
- Setting Outlook on iOS
- Enter The email address
- Select "Exchange" -> Proceed with adding the credentials:
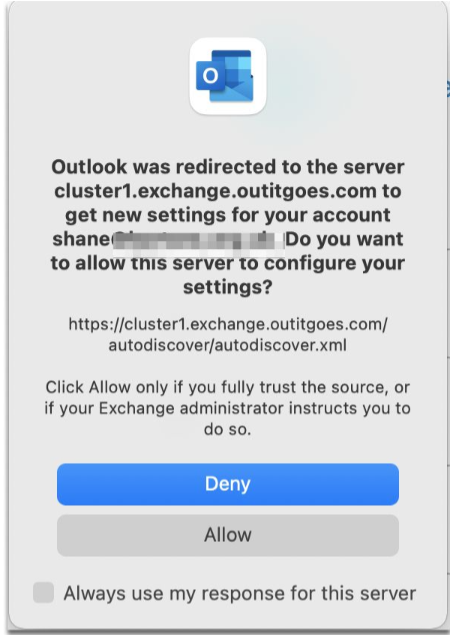
- Click allow
- Click done.
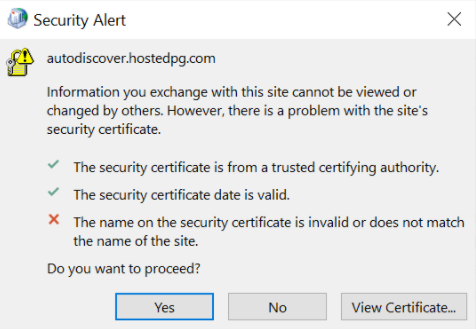
You can verify the certificate by clicking “View Certificate...”. The certificate for the new Exchange servers is issued to “*.exchange.outitgoes.com”
Server information:
Account type: IMAP
Incoming mail server: cluster1.exchange.outitgoes.com
Outgoing mail server: cluster1.exchange.outitgoes.com
Logon information:
Username: Your email address
Password: Your Password
Check "Require logon using Secure Password Authentication"
-> Tab “Outgoing Server”
Check “My outgoing server (SMTP) requires authentication”
Leave “Use same settings as my incoming mail server” checked
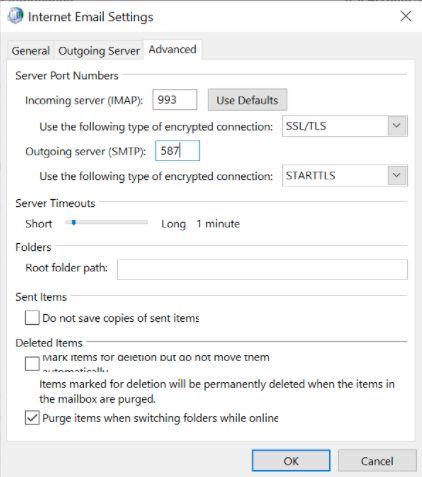
-> Tab “Advanced”
Incoming server (IMAP): 993
Encrypted connection (incoming): SSL/TLS
Outgoing server (SMTP): 587
Encrypted connection (outgoing): STARTTLS
Protocol: IMAP
Server: cluster1.exchange.outitgoes.com
Port: 993
SSL: SSL/TLS
Authentication: Normal password
Username: Your email address
- OUTGOING – SMTP
Protocol: SMTP
Server: cluster1.exchange.outitgoes.com
Port: 587
SSL: STARTTLS
Authentication: Normal password
Username: Your email address